Recently I had the opportunity to use my creativity to solve a fabric dilemma. I needed to make a valance to fit a 52 1/2″ window width. No problem right, I do that all of the time. The issue was that the amount of fabrics and trim available to use were limited. The main fabric to be used was just over 1 yard, 38″ to be exact. Normally that still wouldn’t be an issue, but then I found out that the fabric to be used was P Kaufmann Queensland. I was already familiar with it’s infamous half-drop print repeat so I knew that it would be a bit tricky to work with.
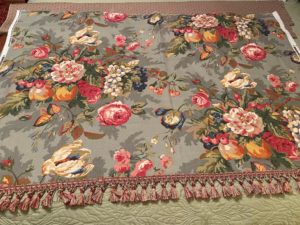
The fabric is beautiful, it’s just the way the bouquets of flowers are placed that makes me shudder. I would prefer that the sets of flowers were beside each other instead of misaligned. Once I was able to examine the piece of fabric I saw that it had 2 whole floral bouquets that I could work with to come up with a suitable design, so my first problem was solved.
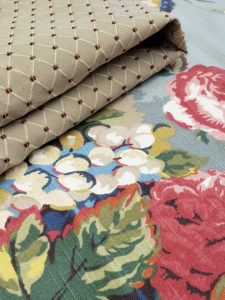
The window measured 52 1/2″ wide and once the brackets for the 2 1/2″ continental rods were installed 1″ out on each side of the window frame, the finished width of the valance would be 54 1/2″. When you add in the 4″ needed for each of the returns the valance would need to be 62 1/2″ wide. With the Queensland fabric being 54″ wide, I decided that it would work the best to use the contrast fabric in a decorative way to make the valance wide enough. So I sent this drawing to the customer so she could see how my idea would work.
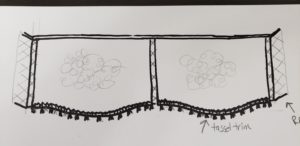
I made the pleat areas more open to take up the space that the scallops wouldn’t be wide enough to cover. That way you would get to see more of the diamond patterned contrast fabric. She loved the idea so I was able to get to work making the drawing come to life.
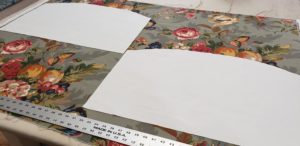
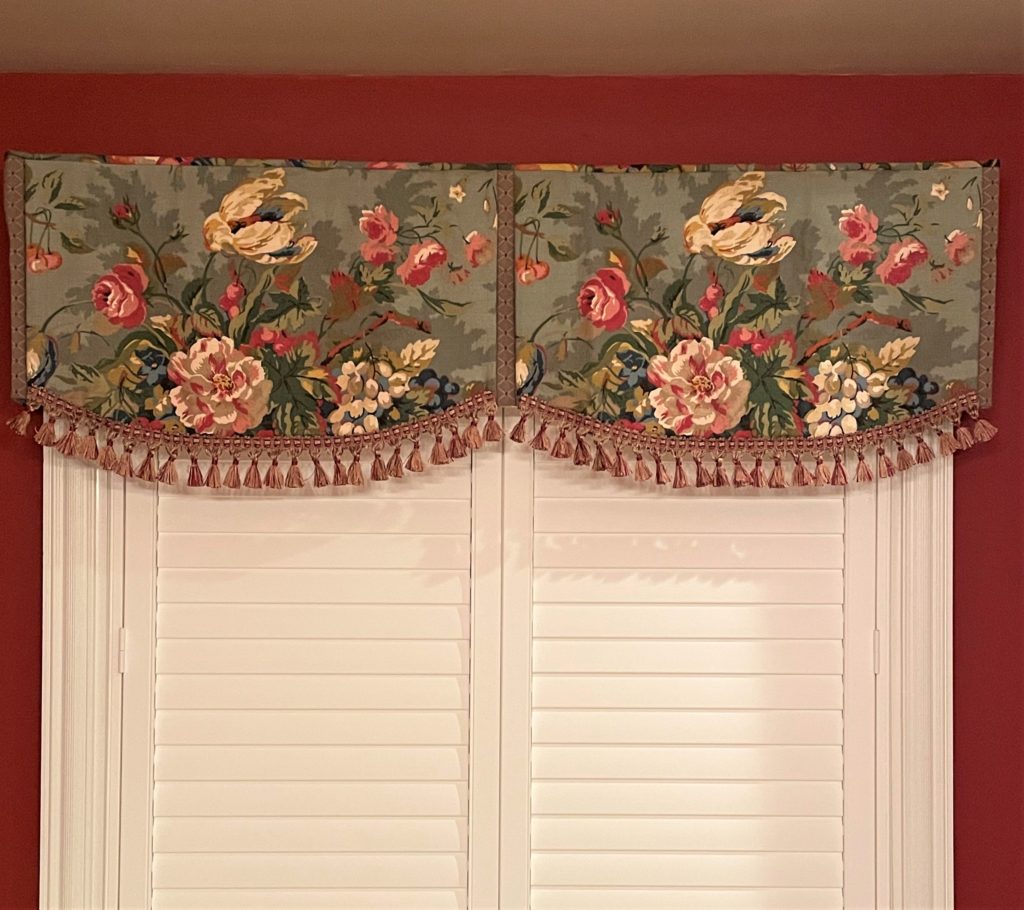
Once I drafted my pattern I got to work moving the pieces around until I could cut both sections to be exactly the same. The goal was to have the heaviest part of the floral design at the bottom of the scallops and to have the yellow tulip centered near the top of the valance.
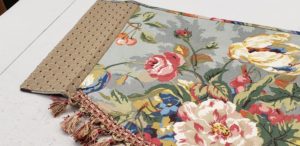
I designed the valance style so the contrast fabric on the returns would show up more on the front of the valance to mirror what I did with the open center pleat. It ended up being a great way to show even more of the contrast fabric.
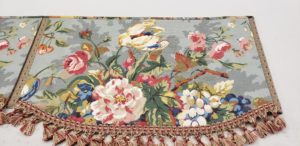
Since there was only 72″ of the tassel trim available to use, it made sense to only use it on the floral scallops of the valance as there wasn’t enough of it to use on the lower edges of the pleats.
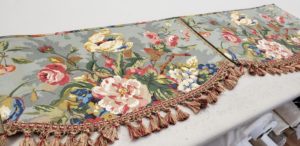
I was absolutely thrilled with how the valance turned out and so was my customer Cynthia. She messaged me once she installed it and said “It looks great and I love it! Thanks so much for your help and expertise!! You did a fantastic job!”
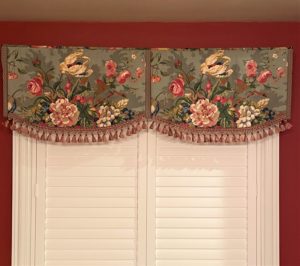
I really did enjoy the challenge of figuring out how to work within the limits of what I had, to be able to create this valance. It was exciting to me to see the idea in the drawing that I made turn into something real and tangible. Making my valances is my happy place, I am blessed beyond measure!
A little something extra for you:
Thank you for taking the time to show me how to work with limited fabric. Your idea was wonderful!!!!